
Building Investigation Basics - by Pete Fowler. Published by The Journal of Light Construction in 2021
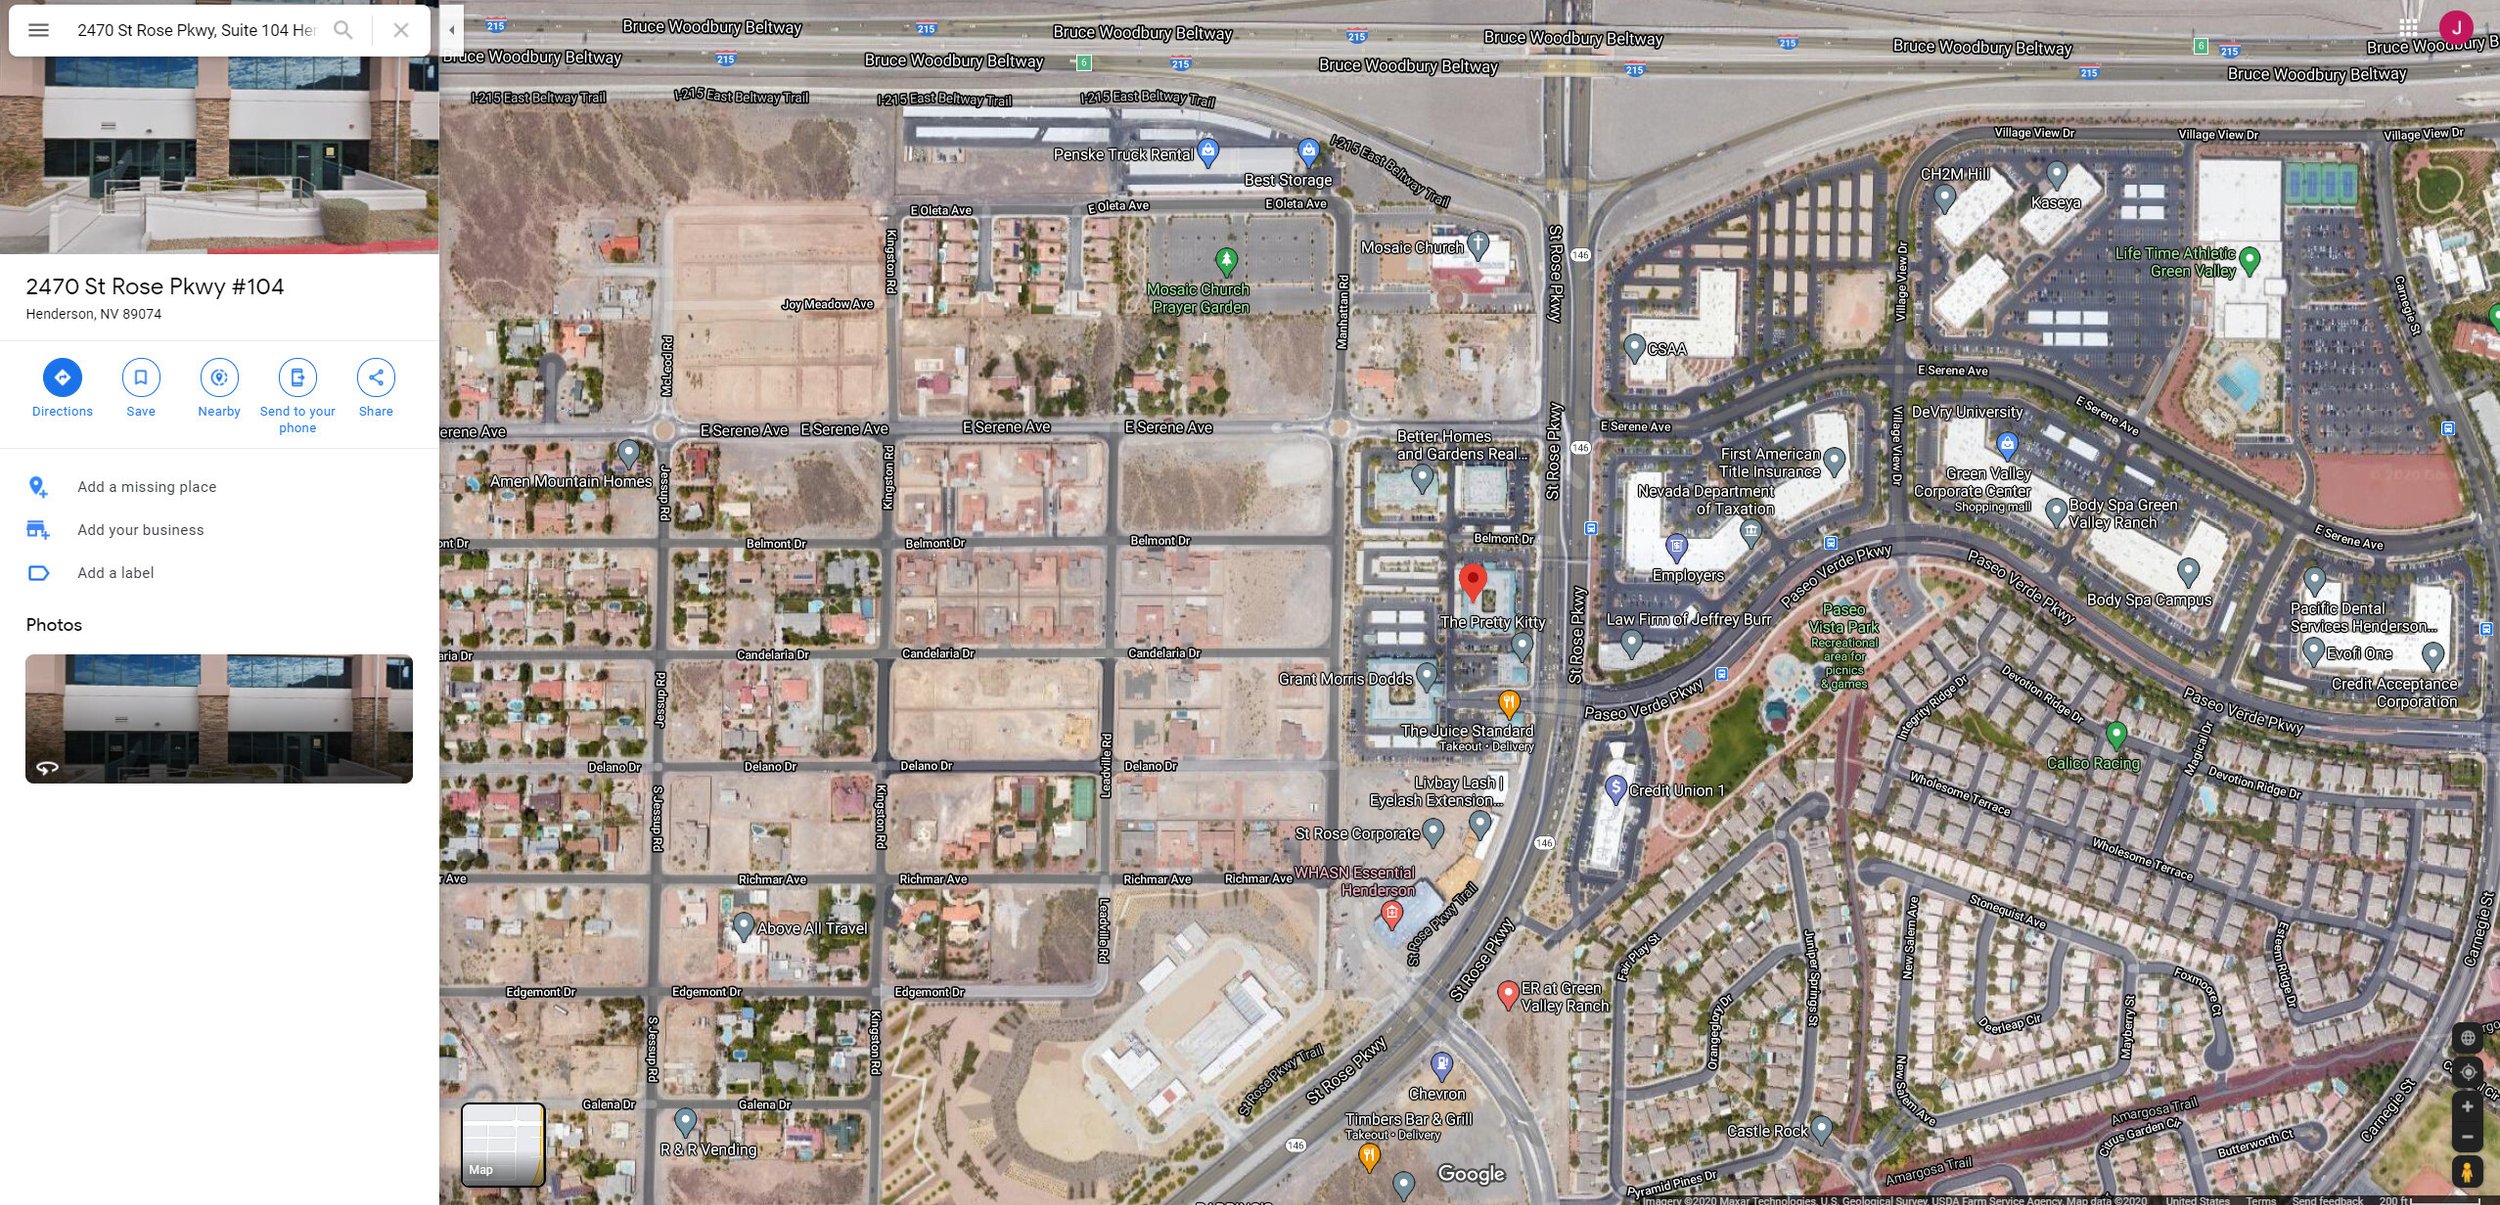
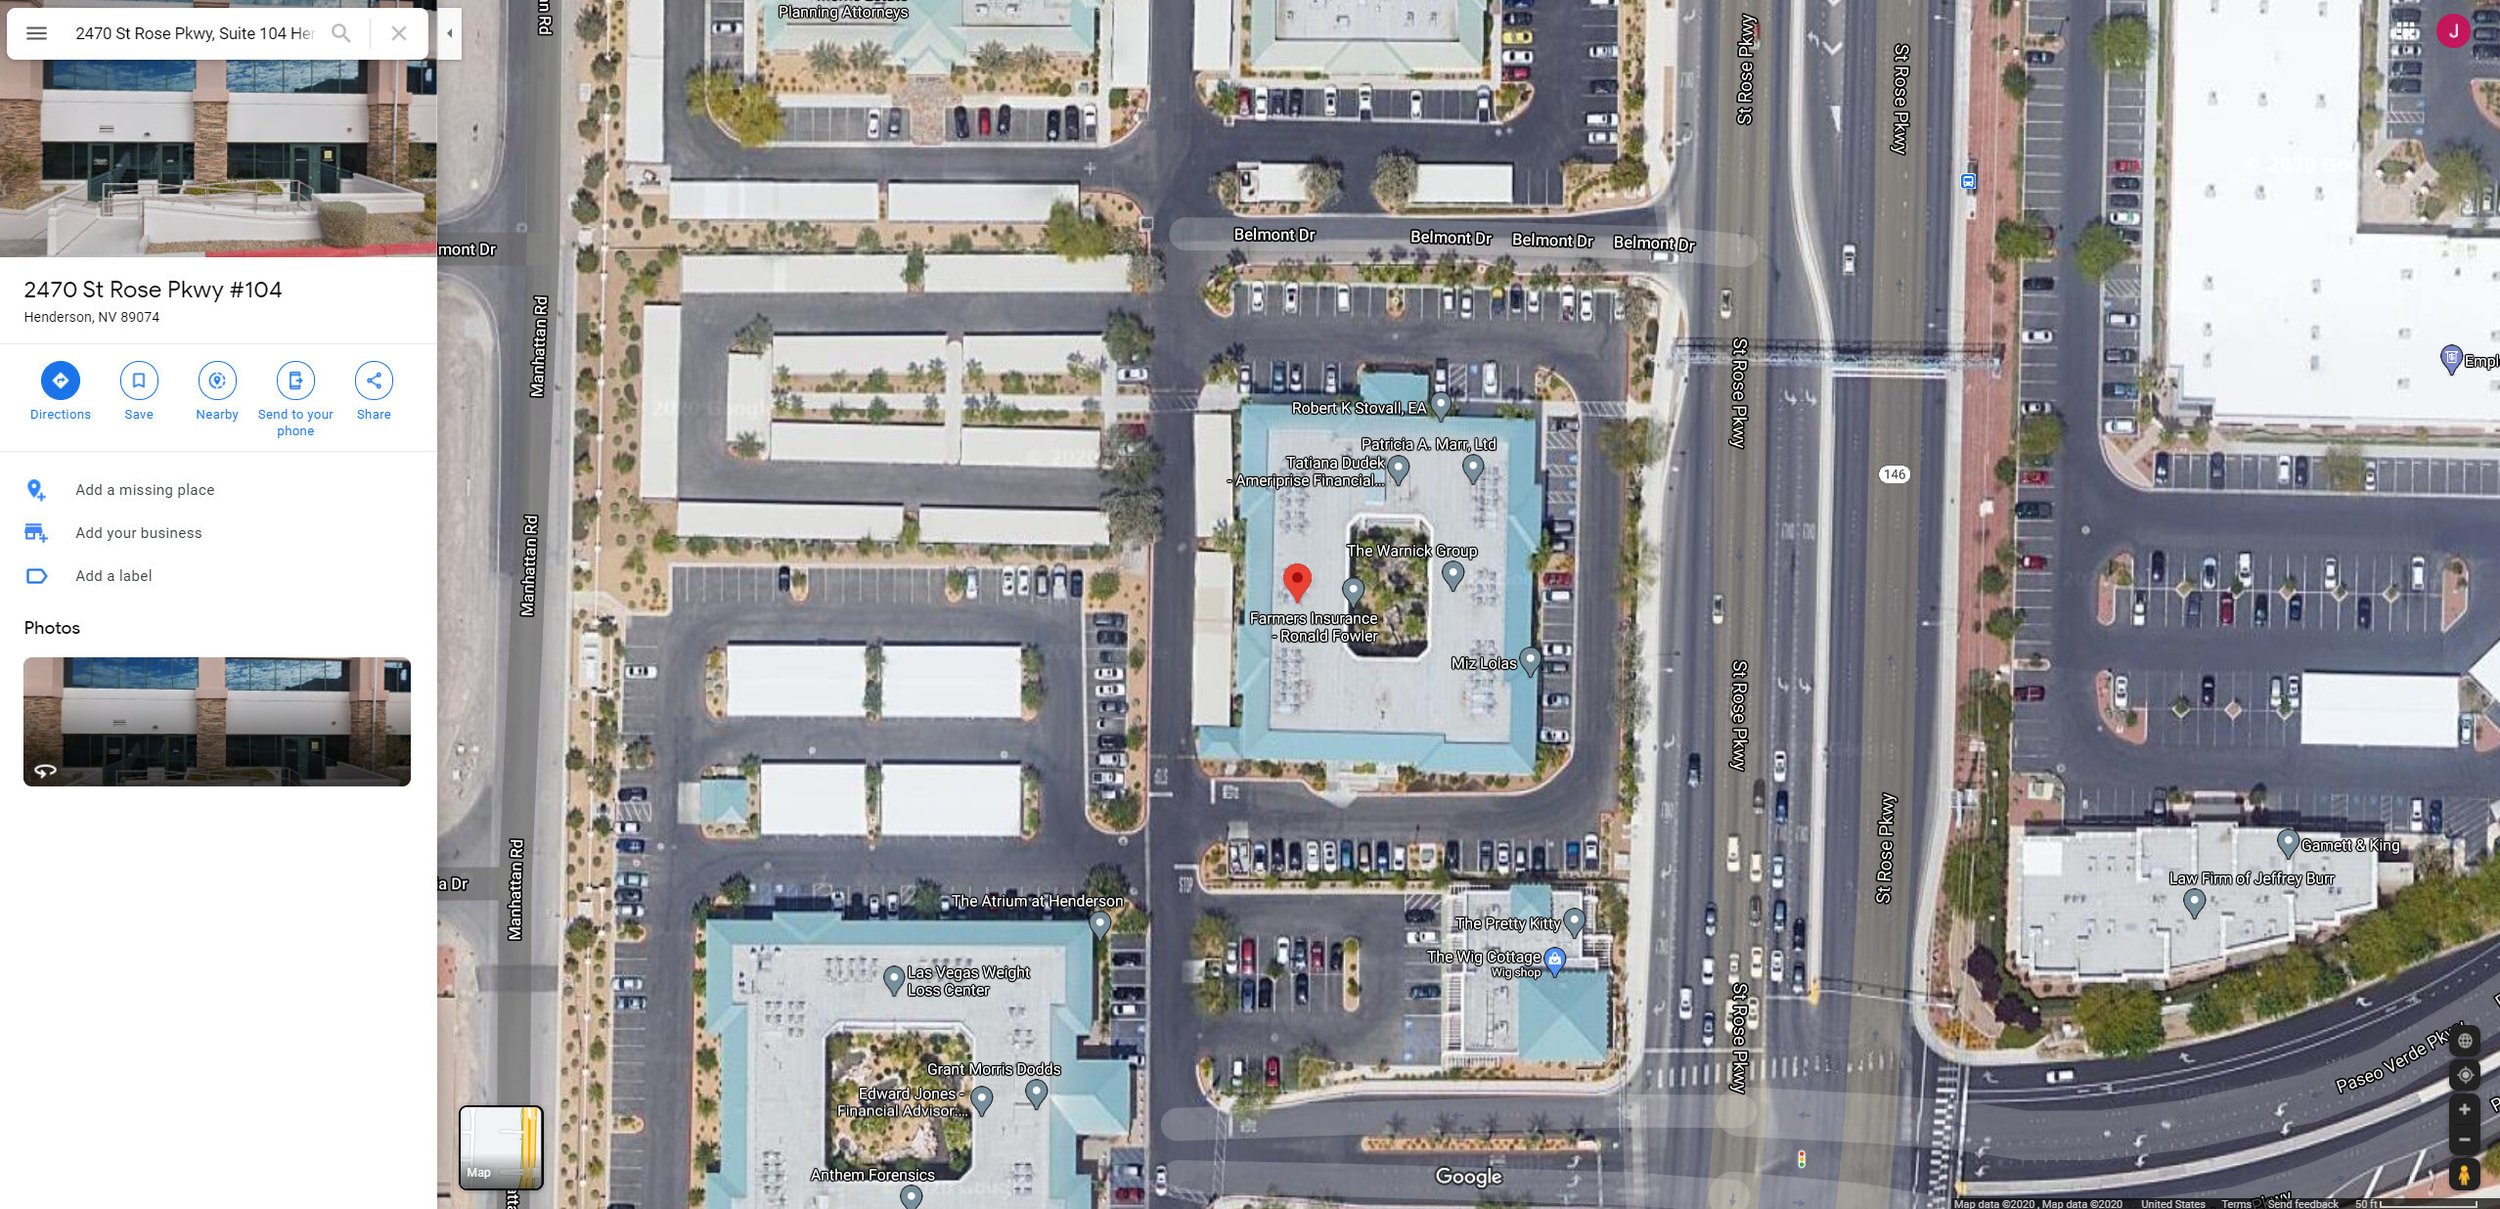
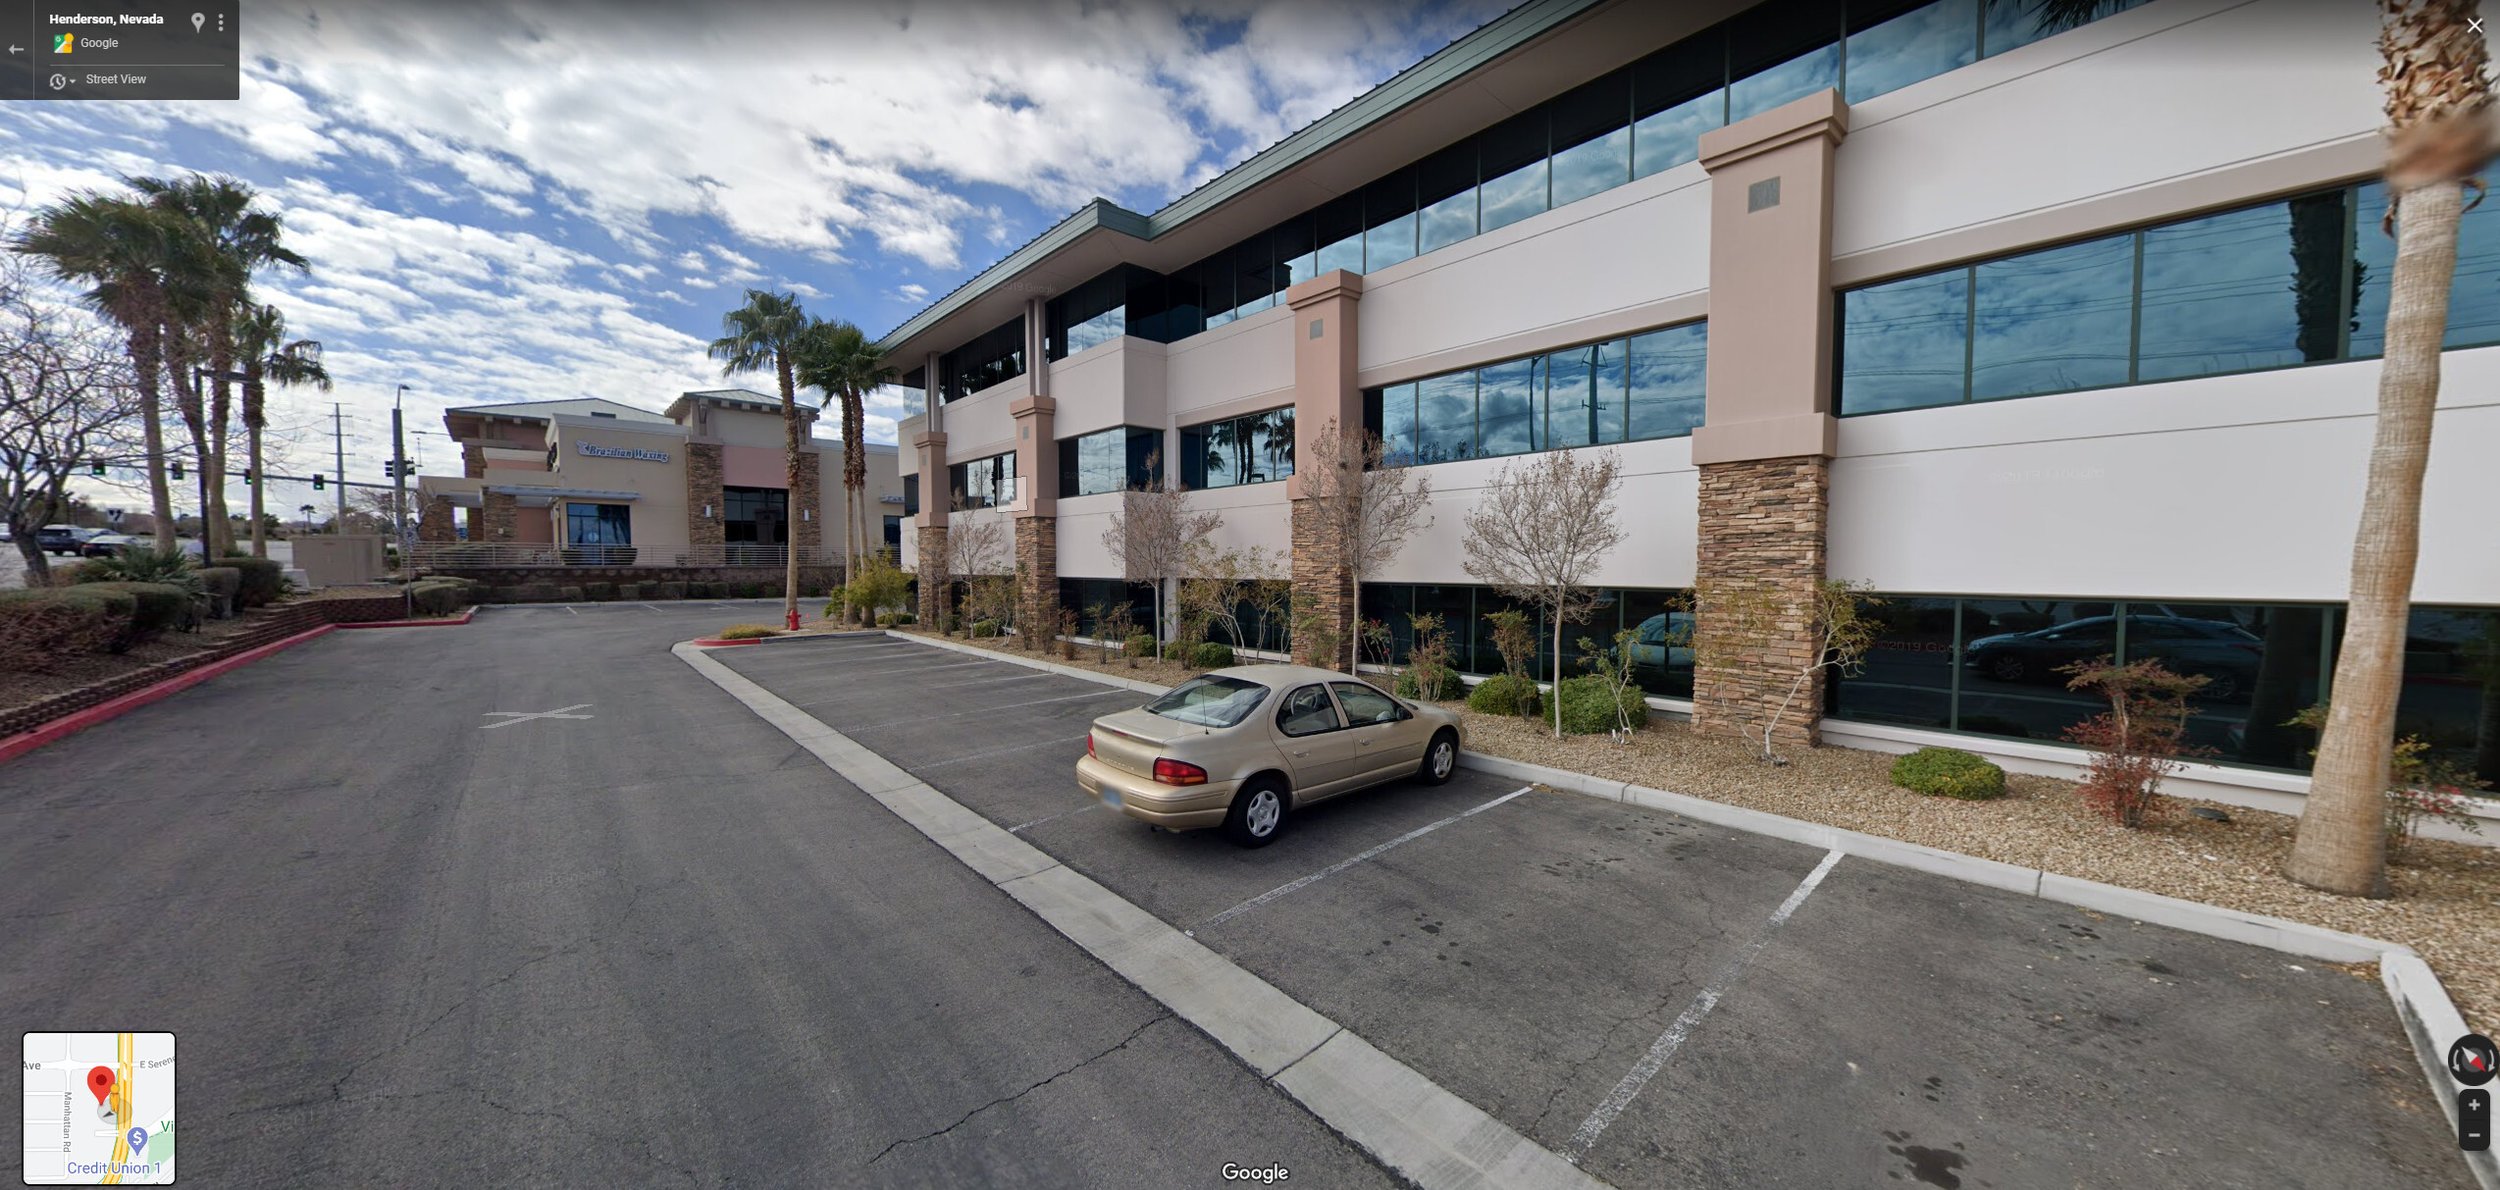
For each investigation, the author documents the project location using satellite and street views on Google Maps. These images can be useful communicating the issues and location for other parties involved in the project.
At Pete Fowler Construction, we work on hundreds of projects every year, and most of them have expensive problems. Our work includes sin- gle-family homes, skyscrapers, hospitals, factories, highways, and everything in between. In addition to being hired for our traditional services, which include inspection and testing as well as quality and construction management, we are hired to help clients understand the technical issues and costs of insurance claims and litigated matters related to buildings. We regularly testify as expert witnesses, so our work is scrutinized by lawyers who have an interest in making us look bad. What some people call an “inspection,” we call an “investigation.” Inspection is too passive for what we do; we proactively seek understanding and document this work in a forensic and professional way so it can be presented in a court of law.
The Objective
The following Investigation Checklist is designed to translate what we have learned from 25 years of experience helping building professionals (including architects, engineers, contractors, and property managers) as well as non-technical people (such as owners and tenants) conduct an effective investigation and document the observations in a systematic, usable way. If you are composing an RFP for maintenance or repairs, or you have an insurance claim, a catastrophic event (leak, storm damage, and such), a construction dispute, a landlord-tenant dispute, or any other need to document a building, this process can be used as your general investigation procedure.
The investigation documentation, which will include photos, notes, and diagrams, and maybe even material samples, should give an overall feel for the situation. Ideally, the documentation will tell a complete story that is easily understood by all, and upon which opinions can be based.
Naturally, no one article can address every situation that could be encountered. So, as in so many situations related to building problems, you'll have to stop, think, and apply judgment.

An “issues list,” such as this example used on the repair of a condominium with roofing, stucco, and concrete problems, serves as a guide for the investigation team to gather photos and documents on each item.
The Investigation Checklist
This checklist is divided into three parts — before the project begins, during the project, and after the project has been completed.
Before
Choose a device to take good quality photos; usually a smart phone, but a digital or even film camera will work just as well.
Find a way to store and send the photos that memorializes the investigation and preserves the quality of the photos; that is, don't email them in a small file size. Consider Dropbox, Google Drive, or a similar service.
Gather paper, a pen, and colored pens or markers.
Have a tape measure and a small measuring device, like a pointer or gauge.
Collect construction drawings, if available, to mark up during inspection to show where an issue is located.
Assemble other graphic aids like site plans, floor plans, building elevations), or documents like brochures from the time of sale, an appraisal report, etc. to mark up during the investigation.
Collect and use images from tools like Google Maps and Google Earth. If possible, print these and mark locations on them. For example: If the problem is with the roof, driveway, or something in the backyard, an aerial image from Google or Bing with an indication of where the investigation is taking place can be an amazing aid in helping others understand the situation (see examples, scroll to the top).
Collect the information necessary to make a list of people involved and a timeline or a list describing the service history (see example above), or collect the information so someone else can create these lists.
Prepare an "issues list" (this includes problems, complaints, damages, etc.) and print for use during your investigation to guide your photographs and documentation. Be sure to organize this information in a sensible manner for later review (see example, document below).
Establish a pattern for how the building will be inspected. When photos and notes are taken, they should follow a logical pattern that someone other than the inspector can understand. For example: front yard and elevation, the right side of the house, back of the house, the left side of the house, etc. and then move to the interior. Begin with the foyer and move in a counterclockwise direction throughout the house.
Consider creating a list of rooms. Create this list in the order you will be investigating them.

During
Begin your investigation notes by writing your name, the date, street address, city, state, and any other basic information on paper and take a photo of this piece of paper. Make this the first photo of your investigation. If multiple units are being inspected, make sheets for each unit and take a photo of each sheet at the beginning of each unit’s investigation.
At the beginning, perform an initial walk-through of the property without taking any photos. Update your “issues list” with any additional problems you notice.
Interview anyone who knows about the situation being documented and take detailed notes including their name, contact information, and a chronological list of important information discussed during the interview. Don’t rely on your memory. Write everything down.
After your walk-through, take photos of the building’s exterior and surrounding area. Within the first few photos, it should be perfectly clear whether it is out in the country, in the city, or somewhere in between.
Take an overall photo, a semi-detailed photo, and a detailed photo of each issue (in general, at least three photos per issue). If some areas don’t have issues, take one or two general orientation photos of those as well.
Include a measuring tape or gauge in photos to give an idea of the size of the issues being documented.
Take as many photos as necessary to clearly document the building and issues.
Photos should follow a sequence:
Site address and general area.
Issue-specific photos (overall, semi-detailed, detailed).
Photos of notes, sketches, or marked-up drawings.
Take notes for every area being investigated. Sometimes the issue is better explained by the notes than the picture. Note dimensions and measurements when necessary or helpful.
Draw sketches and diagrams even if you’re bad at it. A picture is worth 1,000 words, and a diagram or sketch can be worth 1,000 pictures. Include dimensions of what’s being diagrammed.
Make marks on any visual aids that were collected before the inspection (like Google Maps images) to identify where issues are occurring. Use colored pens or markers to make notes and markups easy to see.
Put a page number, date, and the inspector’s name on every page, sketch, and diagram.
Inspect like you’re the only investigator who will ever have access to the property. If you don’t document an issue, it will be hard to prove to someone who wasn’t there. Photos may not explain the whole issue, so write notes that will explain the photos.
At the end, update your “issues list” again to make sure it includes 100% of the problems.
Go through the “issues list” and use it as a checklist to make 100% sure you didn’t miss anything that needs documenting.
After
Take a photo of each page of inspection notes, sketches, diagrams, and marked-up visual aids.
Once the inspection is complete, organize and number the photos, notes, sketches, and diagrams in a sensible manner.
Make sure photos are oriented properly.
Suggested organizational scheme:
Photo of paper with your name, date, street address, city, state, and any other basic information.
General area photos (neighborhood, site, yard, outside of building).
Photos of issues (from general to detailed for each respective issue).
Photos of notes, diagrams, and sketches.
Download the photographs from the camera or smart device into a program like Dropbox or Google Drive and number them in the order that they were taken.
Write a brief summary of what is happening with the
building. Keep this as fact oriented as possible. It could be as simple as a bullet list of what was observed during the inspection.
Update the original “issues list” to make sure it includes everything you discovered during the inspection.
If you follow these steps, you will greatly increase your chances of doing a great building investigation. Some of the graphic examples included with this article are from a project that went to trial—and we won! When collecting your examples, keep in mind that other people should be able to understand what is going on from the photos, notes, and diagrams without having to physically visit the property. Too few photos won’t tell the whole story; too many photos will make it hard to identify what the real issues are. Preparation and organization are critical. The better you understand what is going on and the more prepared you are to communicate the issues, the easier it will be for others to understand your investigation data.
Pete Fowler is president of Pete Fowler Construction Services, which provides building inspection and testing, estimating, quality assurance, and construction management, as well as claims and litigation support, for construction professionals throughout the U.S.